Create an amazing NIKE Ad in Photoshop ( Tutorial & Psd File )
 07:25
07:25
 hatizix

Step 1
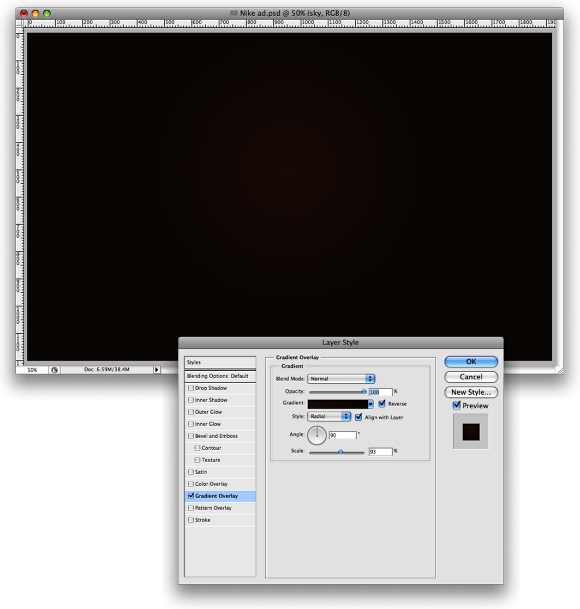
Open Photoshop and create a new document. I used 1920x1200. After that select the background layer and go to Layer>Layer Style>Grandient Overlay. Use #150b06 and # 321c0f for the gradient colors, Radial for Style and Normal for Blend Mode.
Step 2
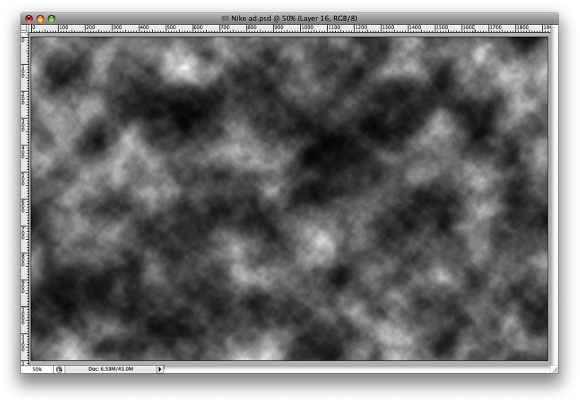
Create a new layer and go to Filter>Render>Clouds. Make sure that the colors were black and white for the foreground an background.
Step 3
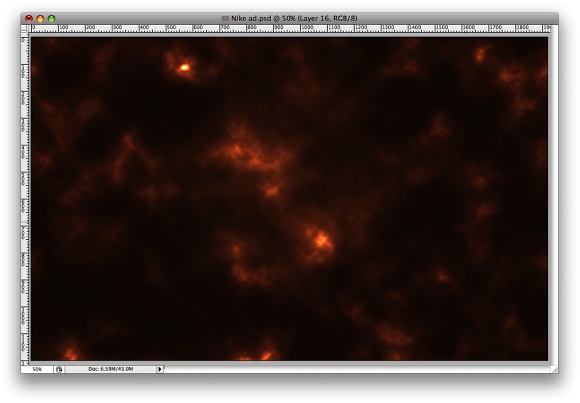
Change the Blend Mode of the Clouds layer to Color Dodge.
Step 4
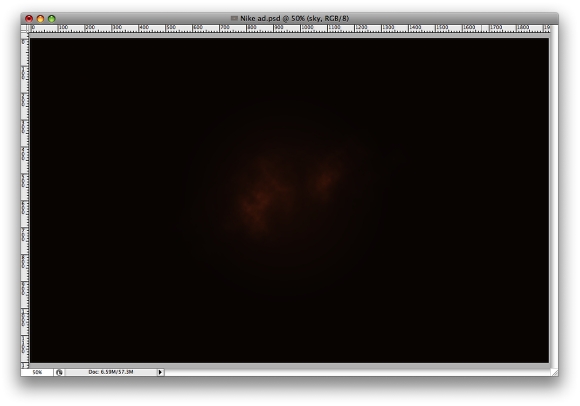
Select the Eraser Tool (E). Use a regular brush. Change the Hardness to 0% and use a big size. Now erase some areas, just leave the center like the image bellow.
Step 5
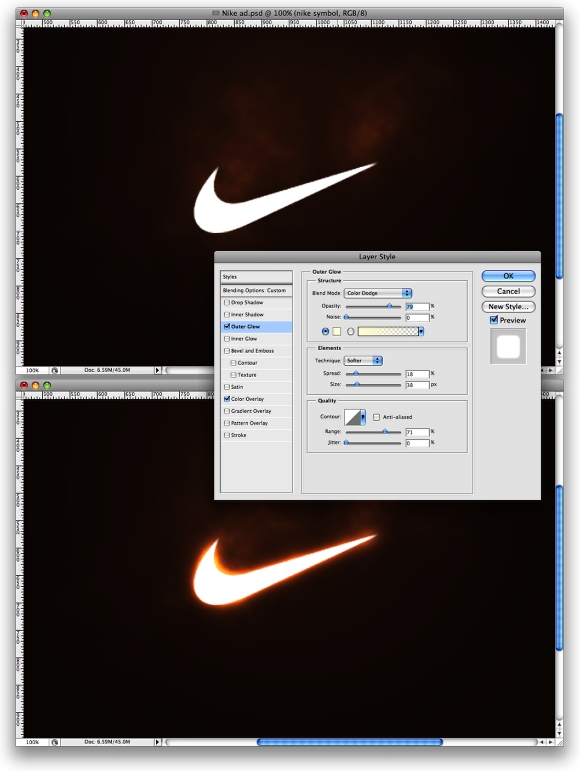
Place the logo and aling it in the center of the document. Go to Layer>Layer Styles>Outer Glow. Use#fffde2 for the color, Color Dodge for the Blend Mode, 80% opacity, 18% for the Spread and 18 pixels for the Size. That will create a nice glowing logo.
Step 6
This tip was from my friend Cameron, he sent me this image and told me that it would be a nice way to create some effects like the Hejz work. You can download the image here.

Step 7
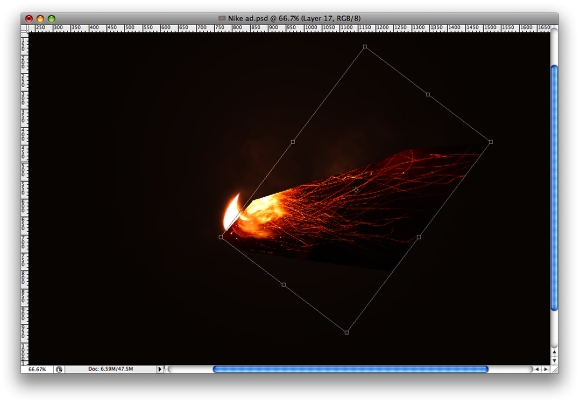
Cut an area of the image and paste it in your document. Rotate and resize it to fit with the symbol. After that change the Blend Mode to Screen.
Step 8
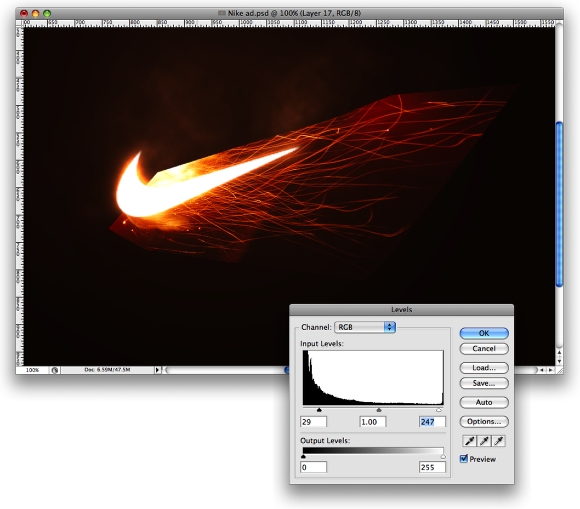
Now go to Image>Adjustments>Levels. Increase the black and the a bit of the white of the image. That's necessary to match the colors of the image with the backgournd.
Step 9
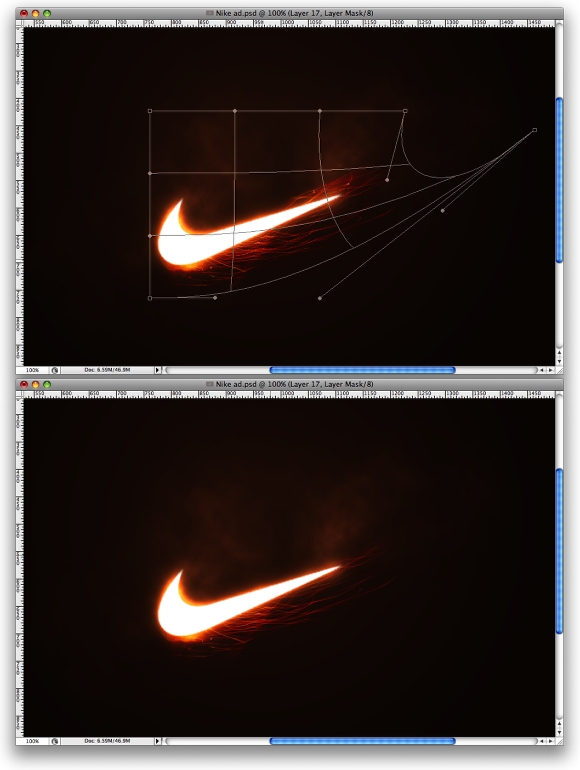
Go to Edit>Transform>Scale, reduce the size of the streaks. Then go to Edit>Transform>Warp. Move the grid to make the streaks follow the symbol.
Step 10
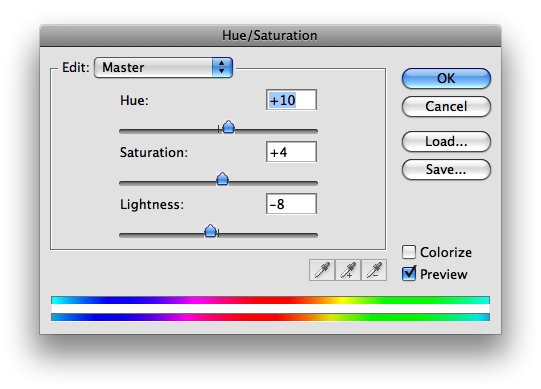
Go to Image>Adjustments>Hue and Saturation. Increase the Saturation and the Hue. Reduce the Lightness.
Step 11
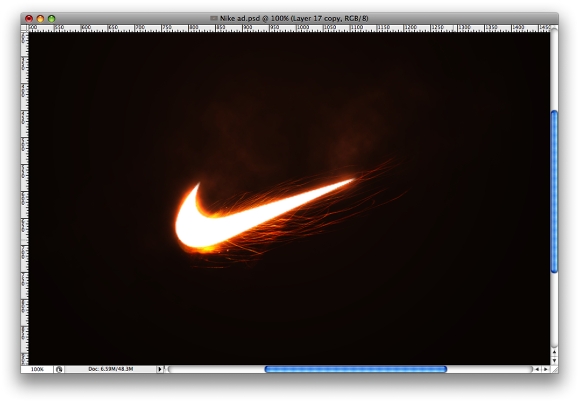
Duplicate the sparks layer. Go to Edit>Transform>Flip Vertical. Then resize it and adjust the position like the image below.
Step 12
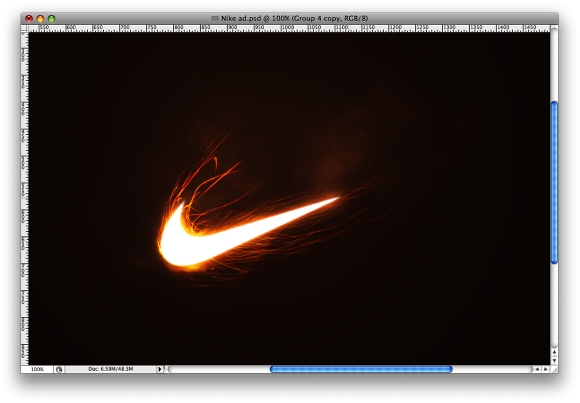
Copy another art of the original Photo and paste it in your document. Repeat the steps 8, 9, and 10.
Step 13
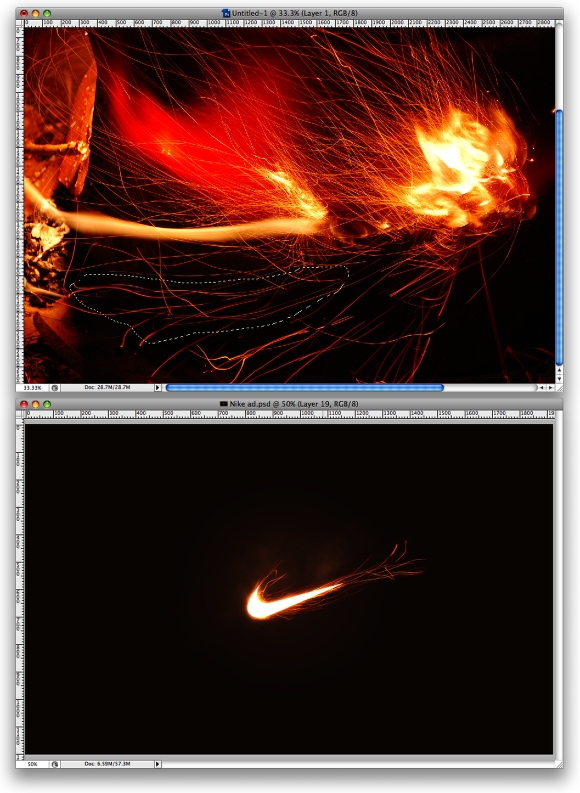
Repeat again the Steps 8,9, and 10 to create a tail to the symbol, like the image below.
Step 14
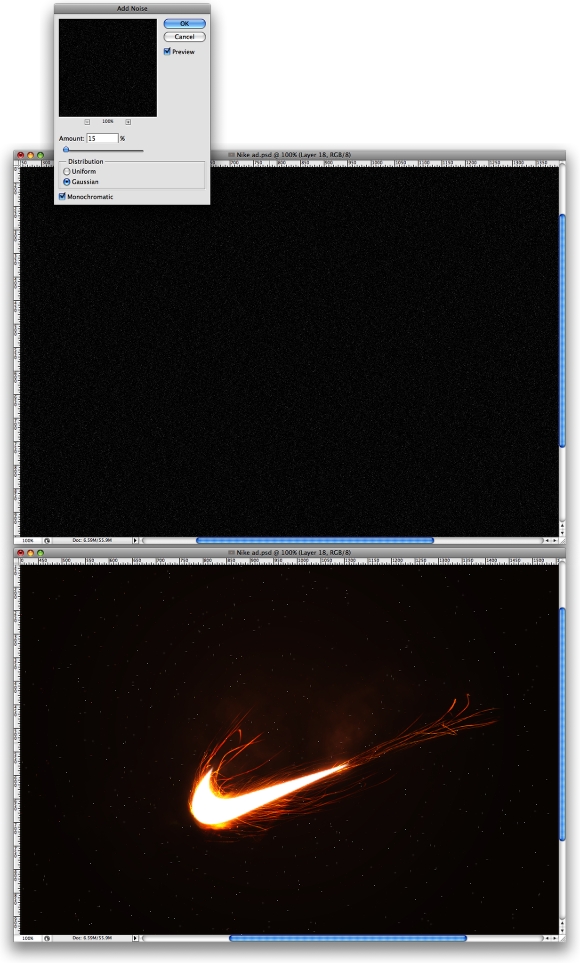
Now lets create some stars, I have explained this in other tutorials so I won't spent too much time again. Basically just create a new layer and fill it with black. Make sure you have black and white for the background and foreground colors. Then go to Filter>Noise>Add Noise. Use Gaussian for, 15% Amout, and Monochromatic. Then change the layer's Blend Mode to Screen and go to Image>Adjustments>Levels. Increase the black and white levels untill you get nice stars. Then just repeat the same steps again in this same layer.
Step 15
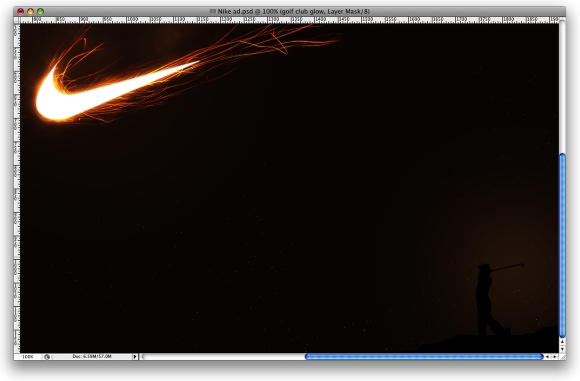
Here it's just to illustrate the idea I had of this golf player that hit the ball and the ball was the commet thing. So I used a photo from iStockphoto.com, you can buy it here.

Step 16
Place the golfer in your image and align it at the botton of the page. Also select the Brush Tool, use #d88c4dfor the color and with a big brush, very soft create a light behind the player. Use 25% Opacity.
Author : Fabio Sasso
You can leave a response, or trackback from your own site.


0 Response to "Create an amazing NIKE Ad in Photoshop ( Tutorial & Psd File )"
Enregistrer un commentaire