iPhone Gift Ribbon in Photoshop ( Tutorial )
 22:17
22:17
 hatizix

1. Download The Source Files
Download the zip file which includes the iPhone image, app icons, and final PSD file.
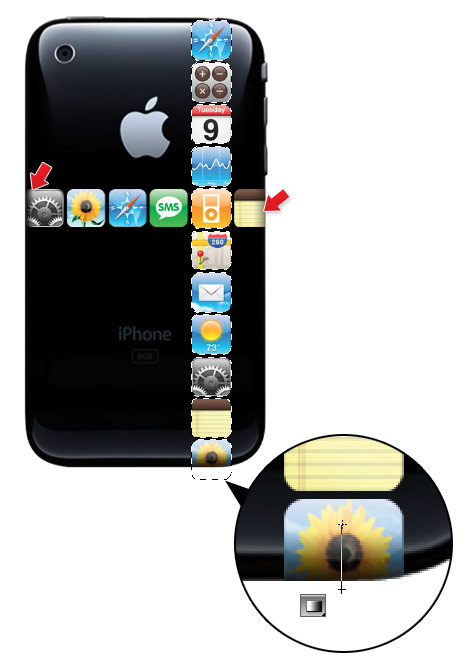
2. Place The App Icons
Open the iPhone PSD file. Paste the app icons on top of the iPhone layer. Align the icons in a vertical column as shown.
Now, repeat this step for the horizontal row.
3. Mask The Icons
Merge the icon layers and group them. Load the iPhone selection by holding theCmd key and clicking on the iPhone layer. With the layer group selected, click on the "Add layer mask" icon to mask the layer group.
4. Shadows
With the Gradient tool, apply a black gradient close to the edge of the phone, making them look like they are wrapping around the phone.
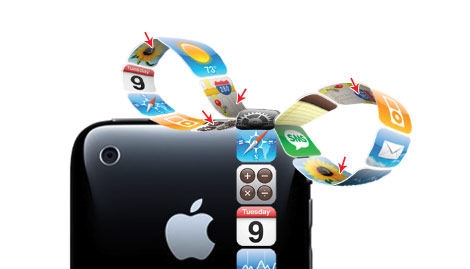
5. Right Loop
Select any two app icons of your choice. Merge them together in one layer. Go to menu Edit > Transform > Warp. Now you should see a overlay grid on top of the image. Drag the points, handles, or any where in the grid to warp the image.

Choose any 3 icons and merge them together. Again, go to Edit > Transform > Warp and repeat this step.
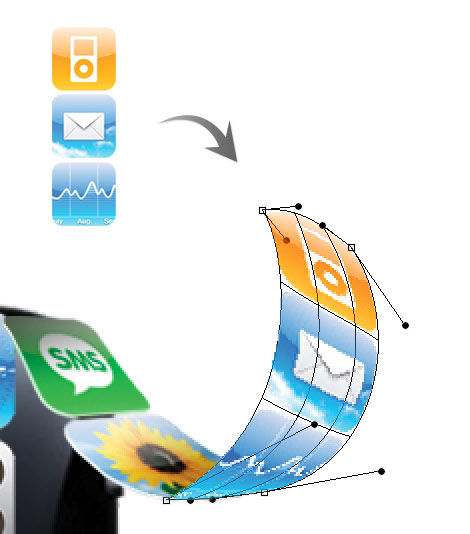
Repeat this step.
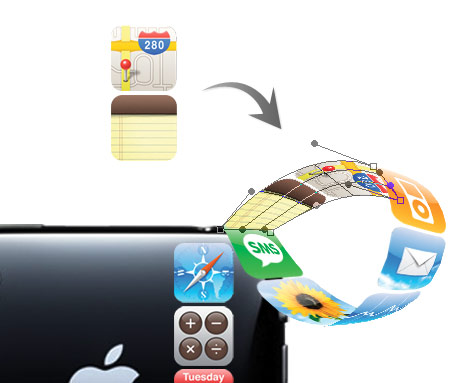
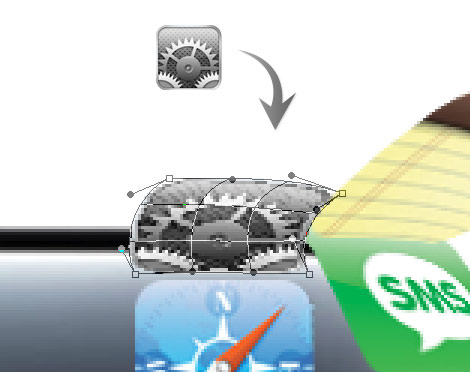
6. Knot
Paste the Setting icon in a new layer. Use the Warp tool to make it look like a knot.
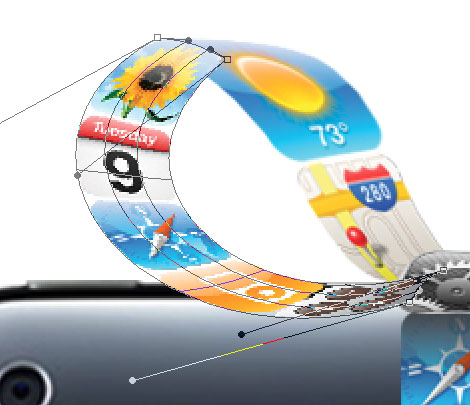
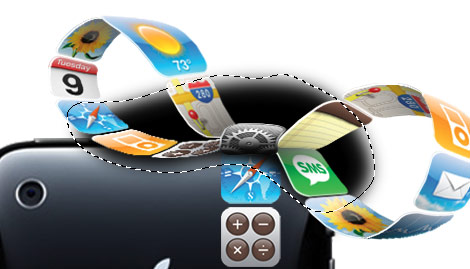
7. Left Loop
Now, work on the left loop by repeating the warping step.

8. Shading
Create a new layer and set the Blending Mode to Multiply. Load the selection of the icon layer. Apply a light black gradient to create the shading effect.
9. Highlight
Now we need to hightlight the ribbon. Load the selection of the icon layer. Create a new layer. Fill the selection with white. Shift the selection 1px down, 2px right, and then delete the selection.
10. Repeat The Shading and Hightlighting Step
Repeat the previous step to create the highlight and shading for the bow.
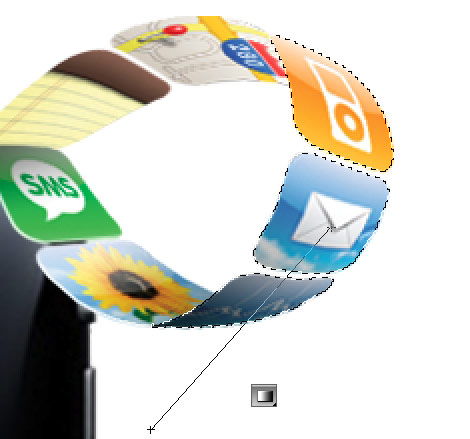
11. Bow Shadow
Create a new layer under the bow. Use the Lasso tool and draw a selection. Feather (Select > Modify > Feather) the selection by 10px. Fill the selection with black and mask the layer with the iPhone selection.
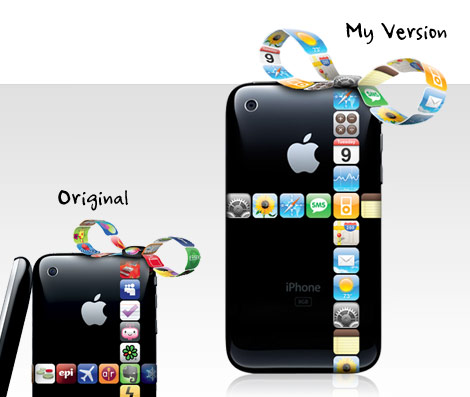
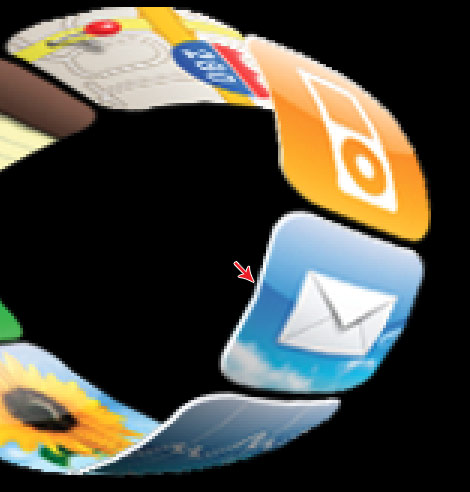
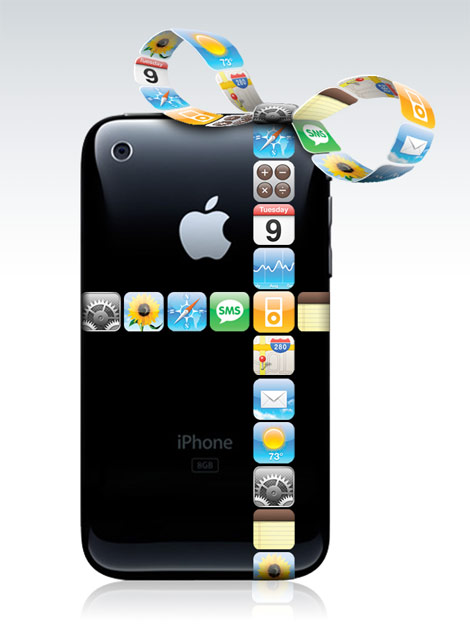
Final
Here is the final image.

You can leave a response, or trackback from your own site.
0 Response to "iPhone Gift Ribbon in Photoshop ( Tutorial )"
Enregistrer un commentaire